Are you wondering how to transform your old leggings into trendy shorts? Look no further! In this quick guide, I’ll walk you through the simple steps to cut leggings into shorts.
- Repurpose old leggings by cutting them into shorts.
- Gather old leggings with holes or stains and a pair of sharp scissors.
- Examine the leggings and cut off each leg above the damaged area.
- Stretch the pant legs to help the edges roll up naturally.
- Involve your child in the DIY project for added fun and pride.
Gather Your Materials
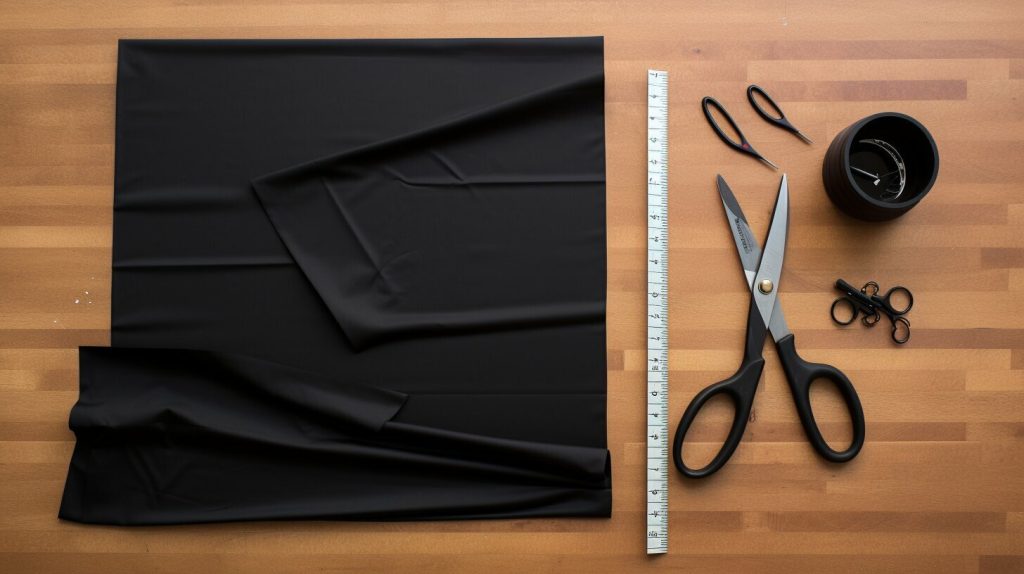
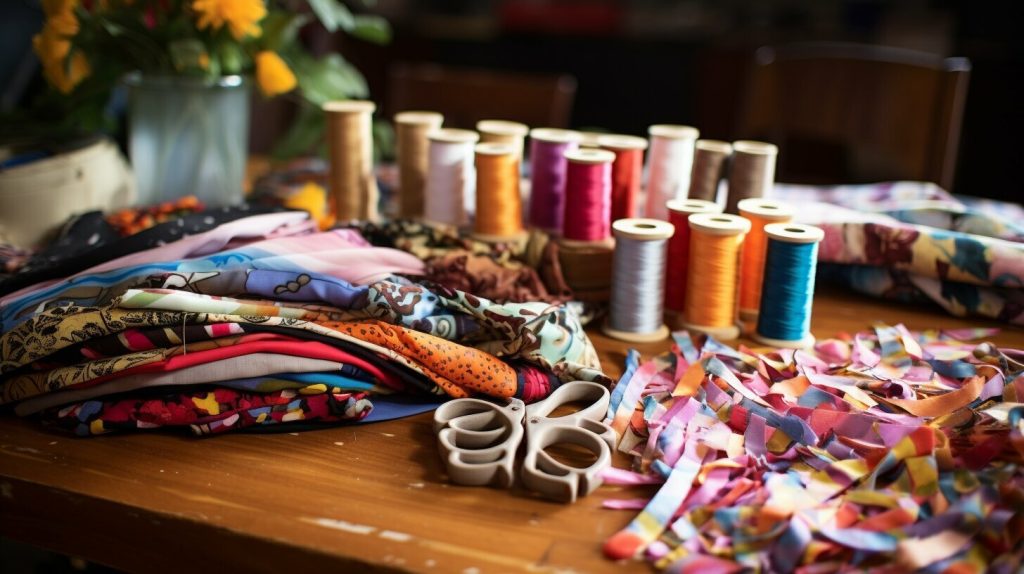
Before you get started, make sure you have a pair of old leggings that you want to repurpose and a pair of sharp scissors. These are the main materials you’ll need to transform your old leggings into stylish shorts.
For the leggings, look for a pair that may have holes or stains, as these are perfect for repurposing. Rather than throwing them away, you can give them a new life as comfortable summer shorts for your little one.
As for the scissors, it’s important to have a pair of sharp ones to ensure clean and precise cuts. Dull scissors may result in uneven edges, so make sure to have a good quality pair on hand.
Creating a Table
When gathering your materials, it’s helpful to create a table to keep track of your progress and make the process more organized. Here’s an example of a table you can use:
| Materials | Description |
|---|---|
| Old leggings | Select a pair with holes or stains |
| Sharp scissors | Ensure a clean and precise cut |
Having a table like this can help you stay organized and ensure you have everything you need before you begin the process of cutting your leggings into shorts.
Examine and Mark the Leggings
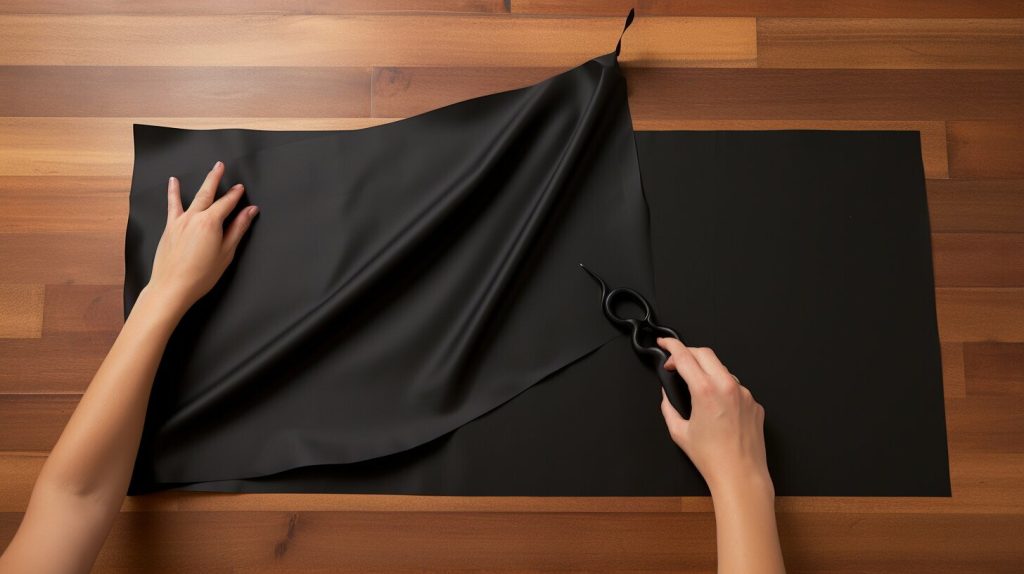
Take a close look at the leggings and identify any areas with holes or stains that you want to remove. This step is crucial to ensure that your finished shorts look clean and fresh. Once you have identified the damaged areas, use a pair of sharp scissors to cut off each leg above the problem spots. Remember to cut straight across to maintain an even hemline.
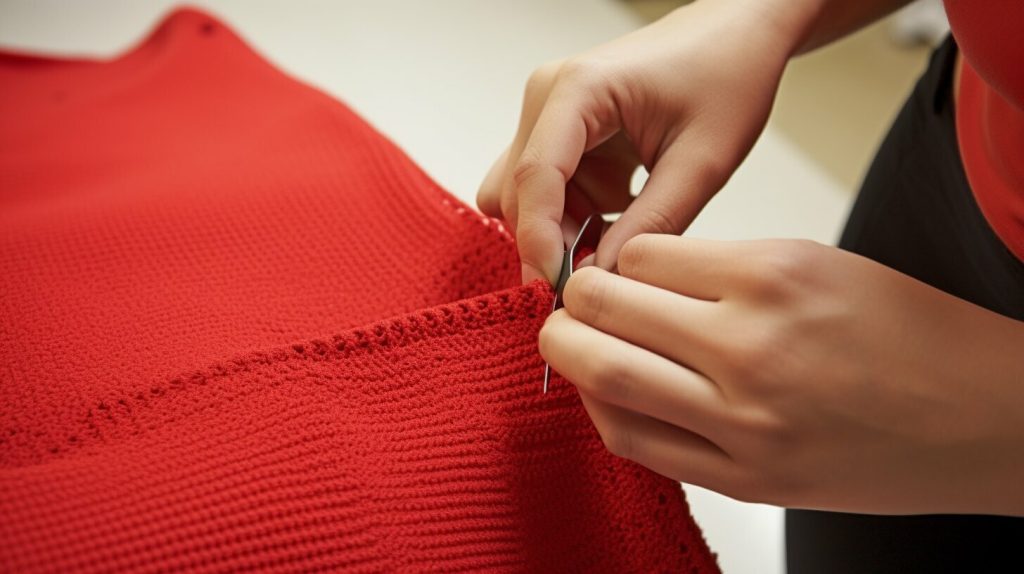
Leggings are typically made of stretchy knit fabric, which means that the edges will naturally roll up after being cut. This eliminates the need for any sewing or finishing, making the process quick and easy. To encourage the edges to roll up even more, gently stretch the pant legs a few times. This simple step will ensure that your newly created shorts have a clean and polished look.
By cutting off the damaged portions of your old leggings, you can create a whole new wardrobe of comfortable and stylish shorts. This DIY project is not only fun but also cost-effective, allowing you to repurpose items you already have. Involving your child in the process can make it even more enjoyable, giving them a sense of ownership and pride in their creation. So gather your materials, examine your leggings, and let the transformation begin!
Cut Off Each Leg
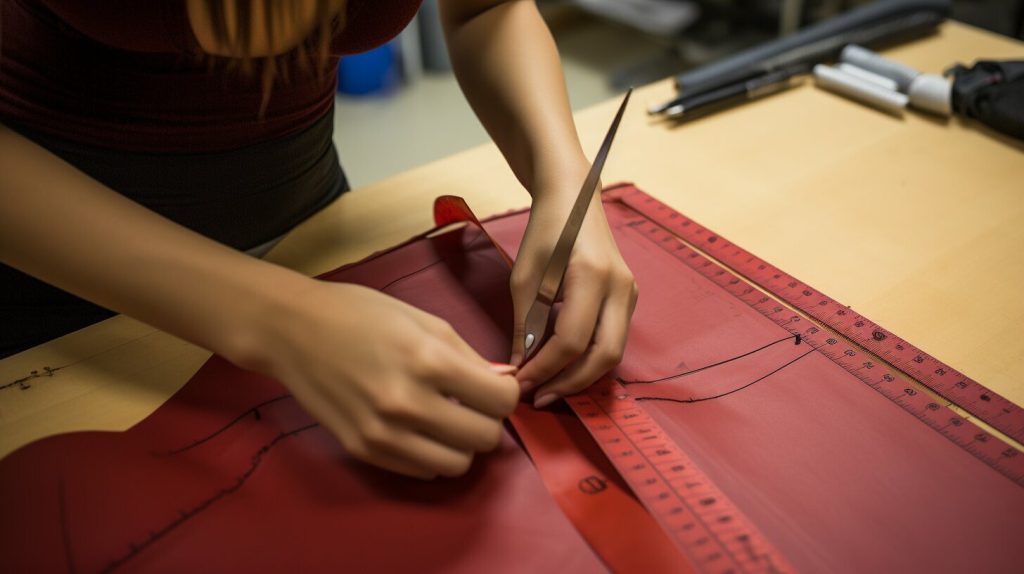
Using your sharp scissors, carefully cut off each leg of the leggings just above the damaged areas. Take your time and make precise cuts to ensure a clean finish. Remember, the length you cut will determine the length of your shorts, so measure and mark the desired length before cutting.
Leggings are typically made of stretchy knit fabric, which makes the edges naturally roll up. This eliminates the need for sewing or hemming the cut edges. To encourage the edges to roll up, stretch the pant legs a few times after cutting. You’ll see the fabric naturally curling inward, creating a neat and finished look.
Transforming old leggings into shorts is a great way to create a whole new wardrobe for your little one. Not only is it a fun and inexpensive project, but it also allows for customization. Your child can choose their favorite patterns and colors, or even add embellishments like patches or buttons to make their shorts unique.
To ensure successful cutting, there are a few tips and tricks to keep in mind. First, cut a little bit at a time to avoid accidentally cutting the shorts too short. It’s better to have them slightly longer and adjust later if needed. Second, use sharp scissors for a clean and precise cut. Dull scissors may result in jagged edges or fraying fabric. Finally, consider finishing the edges of the cut leggings to prevent fraying over time. You can sew a simple zigzag stitch along the edges, use fabric glue, or apply fabric tape for a quick and easy solution.
Add a touch of creativity!
Make this DIY project even more enjoyable by involving your child in the process. They can assist with measuring, marking, and cutting the leggings. This not only adds a sense of pride in their creation but also allows for quality bonding time. Together, you can transform old leggings into stylish and comfortable shorts that your child will love to wear.
| Tips for Cutting Leggings into Shorts | Benefits of Cutting Leggings into Shorts |
|---|---|
|
|
Let the Edges Roll Up
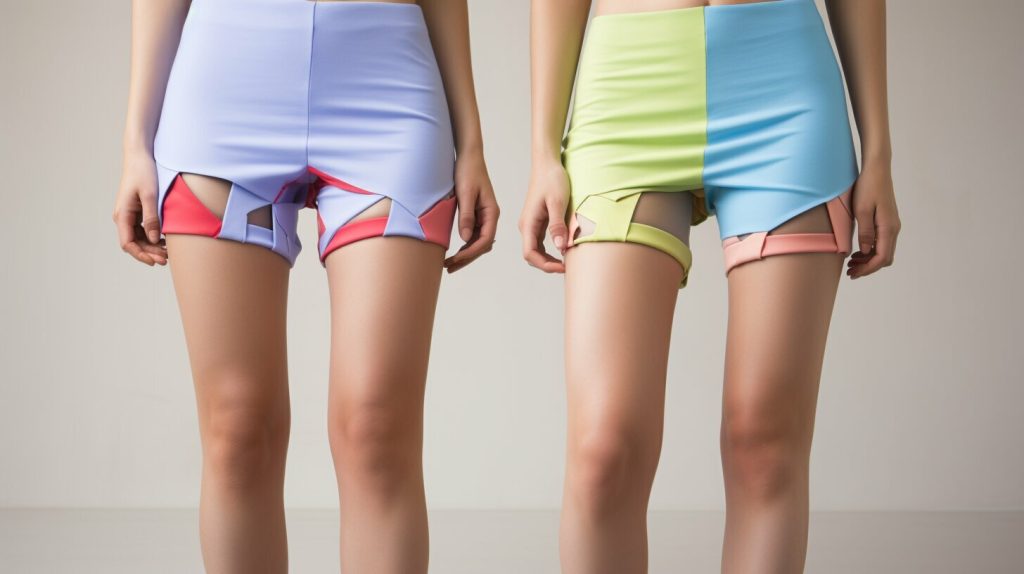
Once you’ve cut the leggings into shorts, you’ll notice that the edges will naturally roll up on their own. This is because leggings are typically made of a stretchy knit fabric that has a tendency to curl. The fabric’s elasticity causes the edges to fold inward, creating a neat and polished look. Whether you’re cutting your leggings into shorts for yourself or for your child, this rolling effect adds a touch of style to the finished product.
To enhance the rolling effect, try stretching the pant legs a few times after cutting. This helps the fabric adjust and encourages the edges to roll up more easily. You can simply pull gently on the fabric or even roll the shorts between your hands. With a little bit of manipulation, the edges will roll up beautifully, giving your new shorts a professional and finished appearance.
Not only does the rolling effect add visual appeal to your shorts, but it also serves a practical purpose. The rolled edges help to prevent fraying, ensuring that your shorts will last longer. This is especially useful if you’ve chosen to repurpose leggings that may have had holes or stains. By cutting off the damaged sections and letting the edges roll up, you’re transforming your old leggings into fashionable and durable shorts that are ready for summer adventures.
| Tips for Enhancing the Rolling Effect: |
|---|
| 1. Stretch the fabric gently after cutting. |
| 2. Roll the shorts between your hands to encourage the edges to curl. |
| 3. Repeat the stretching and rolling process a few times until you achieve the desired roll. |
With the edges naturally rolling up, you can skip the hassle of sewing or hemming. This makes the process even easier and more accessible for beginners. So go ahead and cut those leggings into shorts, embrace the rolling effect, and enjoy your transformed and stylish wardrobe!
To achieve the perfect length, it’s advisable to cut a little bit at a time to avoid cutting the shorts too short. This way, you can gradually trim the leggings while ensuring you don’t overdo it. Start by making small cuts and keep checking the length as you go.
When it comes to cutting, sharp scissors are your best friend. They will give you clean and precise cuts, making the transformation process much easier. Dull scissors can lead to frayed edges and uneven cuts, so it’s worth investing in a good pair of sharp scissors for this project.
Finishing the edges is an important step to prevent fraying and give your shorts a polished look. There are a few options you can choose from, depending on your preference and sewing skills. Sewing the edges with a sewing machine or by hand is a durable option. Fabric glue or fabric tape can also be used to seal the edges without any sewing involved. Whichever method you choose, make sure to secure the edges properly to ensure they stay intact.
Additional Tips:
- Use a ruler or measuring tape to mark the desired length before cutting.
- If you’re worried about cutting straight lines, you can use masking tape as a guide.
- Consider adding embellishments such as lace trim or fabric patches to personalize your shorts.
- Experiment with different lengths and styles to create a variety of shorts for different occasions.
| Pros of Cutting Leggings into Shorts | Cons of Cutting Leggings into Shorts |
|---|---|
| – Repurposes old leggings | – Not suitable for all types of leggings |
| – Cost-effective solution | – May not yield perfect results if not cut carefully |
| – Customizable to fit individual style | – May require additional finishing techniques |
| – Easy and fun DIY project | – Limited to the length of the leggings |
“Cutting leggings into shorts is a great way to breathe new life into your old wardrobe staples. With a few simple steps, you can create stylish and comfortable shorts that can be worn for various occasions. Plus, it’s a fun and rewarding DIY project to do with your child, allowing them to get creative and develop a sense of accomplishment. So why not give it a try and transform those old leggings into trendy summer shorts?”
Add Finishing Touches
To prevent fraying, you can finish the edges of the cut leggings with sewing, fabric glue, or fabric tape. Sewing is a durable and secure option that will give the shorts a polished look. Use a sewing machine or hand stitching to create a clean hem along the cut edges. If you don’t have sewing skills or equipment, fabric glue or fabric tape can be great alternatives. Simply apply a thin line of fabric glue along the cut edge and press the fabric together until it adheres. Fabric tape can be used in the same way, providing a quick and easy solution for finishing the edges.
Tips for Sewing:
- Choose a matching thread color for a seamless finish.
- Use a zigzag stitch to allow the fabric to stretch.
- Fold the fabric over twice to create a clean hem.
- Backstitch at the beginning and end of each seam to secure the thread.
By finishing the edges, you not only prevent fraying but also add a professional touch to your DIY shorts. This extra step will ensure that the shorts last longer and stay in good condition. Plus, it gives you the opportunity to get creative with different sewing techniques and decorative stitches. Whether you choose to sew, use fabric glue, or fabric tape, the finishing touches will enhance the overall look and durability of the shorts.
| Finishing Option | Pros | Cons |
|---|---|---|
| Sewing | Durable and secure | Requires sewing skills and equipment |
| Fabric Glue | Quick and easy | May not be as durable as sewing |
| Fabric Tape | Quick and easy | May not be as durable as sewing |
Now that you know how to finish the edges of the cut leggings, you have the freedom to experiment with different techniques and materials. The choice ultimately depends on your preference and the resources available to you. Whether you’re an experienced sewer or a beginner, or if you prefer the convenience of fabric glue or fabric tape, all options will result in stylish and comfortable shorts that your child will love.
Involve Your Child in the DIY Project
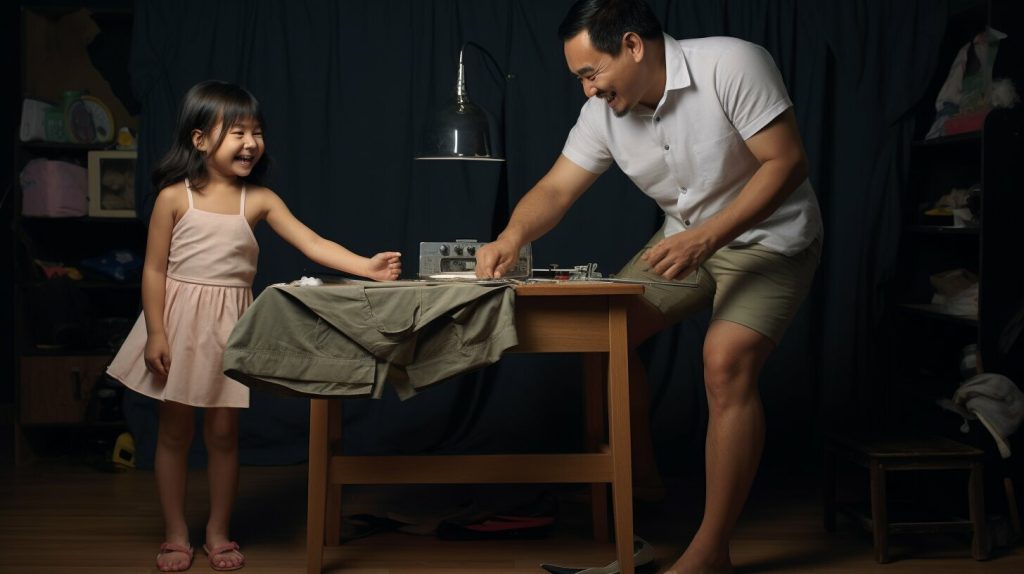
Make this DIY project even more enjoyable by involving your child in the cutting process, allowing them to feel proud of their creation. Not only will this be a fun bonding activity, but it will also teach them valuable skills and promote their creativity.
To start, sit down with your child and gather the old leggings that they no longer wear. Explain to them that you can transform these leggings into stylish shorts with just a few simple steps. Let them choose the leggings they want to repurpose, and encourage them to select different colors or patterns for a unique and personalized look.
Next, show your child how to examine the leggings and mark the areas to be cut off. Demonstrate the cutting technique and involve them in the process by allowing them to cut off each leg above the damaged area. This hands-on experience will not only make them feel proud of their contribution but will also enhance their fine motor skills.
Once the leggings have been transformed into shorts, let your child see the magic of the stretchy knit fabric. As they try on their new shorts, explain how the edges will naturally roll up due to the fabric’s elasticity. This creates a trendy and finished look without the need for any sewing. Your child will be amazed at how a simple cut can completely transform their old leggings into stylish shorts.
| Benefits | Description |
|---|---|
| Enhanced creativity | Allows your child to express their individuality and personalize their wardrobe. |
| Development of fine motor skills | Improves hand-eye coordination and precision through cutting and handling of materials. |
| Sense of accomplishment | Empowers your child by giving them ownership over their creation and boosting their self-esteem. |
| Bonding time | Strengthens the parent-child relationship and creates lasting memories through shared creativity. |
By involving your child in the process of cutting leggings into shorts, you are not only repurposing old clothing but also fostering their imagination, confidence, and responsibility. Together, you can create a sustainable and stylish wardrobe while making cherished memories along the way.
Transforming Old Leggings Into Stylish Shorts
Cutting leggings into shorts is a fantastic way to repurpose your old leggings and create stylish and comfortable shorts. Instead of letting them sit in your closet, why not give them a new lease on life? With just a few simple steps, you can transform your old leggings into fashionable summer shorts for yourself or your little one.
To get started, gather your old leggings that may have holes or stains and a pair of sharp scissors. Examine the leggings and identify the area where you want to cut off the legs. It’s best to cut above any damaged areas to ensure that the shorts are in good condition. Once you’ve marked the cutting line, carefully cut off each leg using the scissors.
One of the great things about leggings is that they are made of stretchy knit fabric. This means that the edges will naturally roll up after you cut them, eliminating the need for sewing. To encourage the edges to roll up even more, you can gently stretch the pant legs a few times. This will help the fabric roll up on its own, creating a neat and finished look for your shorts.
When cutting leggings into shorts, it’s important to keep a few tips and tricks in mind. Firstly, cut a little bit at a time to avoid accidentally trimming the shorts too short. Using sharp scissors will make the cutting process easier and result in a clean cut. Finally, if you want to prevent the edges from fraying, you can finish them off with sewing, fabric glue, or fabric tape. This will give your shorts a polished and professional finish.
Tips for Cutting Leggings Into Shorts:
- Cut a little bit at a time to avoid cutting the shorts too short.
- Use sharp scissors for a clean cut.
- Finish the edges with sewing, fabric glue, or fabric tape to prevent fraying.
Transforming your old leggings into stylish and comfortable shorts is a fun and inexpensive DIY project. It not only saves money but also allows for customization according to your personal style. Plus, involving your child in the process can add an extra element of fun and pride as they get to create their own unique pair of shorts.
So, don’t let your old leggings go to waste. Give them a new purpose by turning them into fashionable shorts that you’ll love to wear during the summer months. With a few simple steps and some creativity, you can create a whole new wardrobe without spending a dime. Enjoy the process and embrace the joy of repurposing!
| Benefits of Cutting Leggings into Shorts: |
|---|
| Repurpose old leggings |
| Create stylish and comfortable shorts |
| Save money |
| Customize according to your style |
| Involve your child in a fun DIY project |
Conclusion
With just a few simple steps, you can transform your old leggings into trendy shorts, saving money and creating a customized wardrobe. Cutting leggings into shorts is a simple and easy way to repurpose old leggings that may have holes or stains. By gathering old leggings and a pair of sharp scissors, you have the materials needed to begin transforming your wardrobe.
First, examine the leggings and cut off each leg above the damaged area. As leggings are made of stretchy knit fabric, the edges will naturally roll up, eliminating the need for sewing. Simply stretch the pant legs a few times to encourage the edges to roll up on their own.
With a simple cutting technique, you can create a whole new wardrobe of comfortable summer shorts for your little one. This DIY project is not only fun but also cost-effective, allowing you to save money while adding a touch of customization to your child’s clothing. Involve your child in the process for added fun and pride in their creation.
There are also helpful tips and tricks to consider when cutting leggings into shorts. To avoid cutting the shorts too short, cut a little bit at a time and gradually adjust the length if needed. Make sure to use sharp scissors for a clean and precise cut. Additionally, consider finishing the edges of the shorts with sewing, fabric glue, or fabric tape to prevent fraying and ensure durability.
Overall, cutting leggings into shorts is a great way to transform your old leggings into stylish and comfortable shorts. Not only does it allow you to breathe new life into your wardrobe, but it also gives you the opportunity to create unique pieces that reflect your personal style. So, grab your old leggings, follow the simple steps, and enjoy the satisfaction of creating trendy shorts from items you already have!
FAQ
Q: What materials do I need to cut leggings into shorts?
A: You will need old leggings with holes or stains and a pair of sharp scissors.
Q: How do I examine and mark the leggings?
A: Examine the leggings and cut off each leg above the damaged area.
Q: What is the cutting technique to create shorts?
A: Simply cut off each leg of the leggings above the marked area.
Q: Do I need to sew the edges of the cut leggings?
A: No, the edges of the leggings will naturally roll up due to the stretchy knit fabric. However, you can finish the edges with sewing, fabric glue, or fabric tape to prevent fraying if desired.
Q: How can I involve my child in the cutting process?
A: You can involve your child in choosing the leggings to cut and let them participate in the cutting process. This will add fun and pride in their creation.
Q: Can I cut the leggings too short?
A: To avoid cutting the shorts too short, it is recommended to cut a little bit at a time and try them on periodically to ensure the desired length is achieved.
Q: How can I finish the edges of the cut leggings?
A: You can finish the edges of the cut leggings by sewing them, using fabric glue, or using fabric tape. This will help prevent fraying and give a neater finish.


